Recreated for GAconf 2020 viewers. Please note that the text may not perfectly match, as these are my notes. I’ll be sure to update, as needed. Here is the official video: http://bit.ly/deafcustom. Thank you 🙂
Hello everyone! My name is Morgan Baker, and today I’m going to talk about Deaf Accessibility: The Power of Customization
In the US there are approx. 48 million Americans who have some degree of hearing loss. To do the math for you, that is roughly 15% of the population who are hard of hearing or deaf. And that is a ton. So how can we make our games more accessible? This session explores the power of customization, and provides guidance on creating accessible experiences across the whole DHH spectrum.
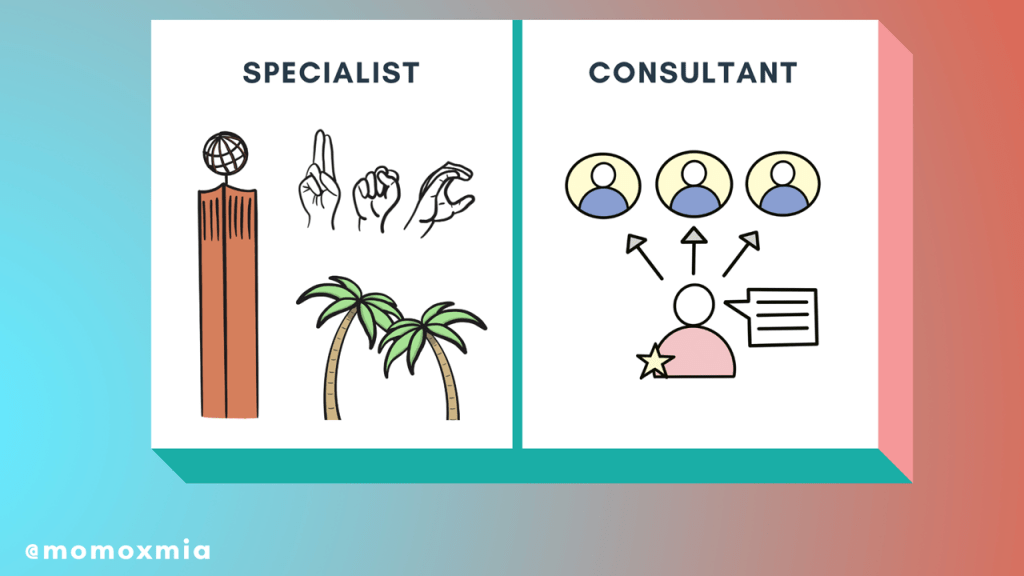
I’m going to start off by introducing myself. I am a full-time Disability Specialist for the University of Southern California, which is a large institution in Los Angeles.
In addition to this role, I provide accessibility consultation to varying studios, as needed. Most recently, I’ve worked with Naughty Dog for the Last of Us Part II.
For my everyday role, I work with hundreds of people with disabilities to create equal access, ranging from mobility, medical, and cognitive disabilities all the way to blind, low vision, and deaf. If there is one take away from this role, it’s that there is no such thing as one disabled experience.
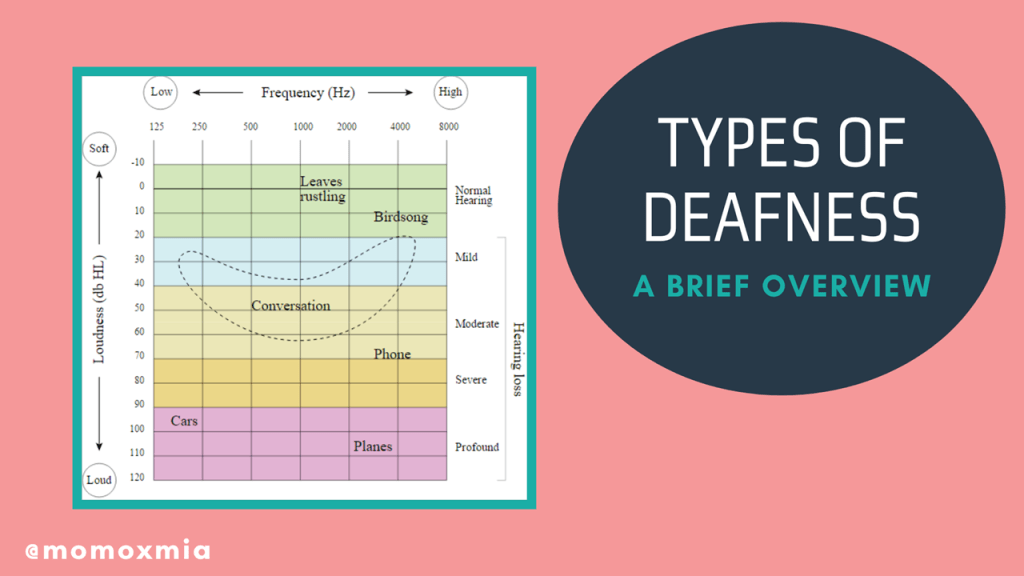
This is especially true for d/Deaf and hard of hearing people. Some folks are born with hearing loss, whereas others may develop it later in life. Deafness is also a spectrum, ranging from mild to profound, as represented in the audiogram on my slide. Some are mild and they can still benefit from sound, whereas others may be profound and cannot hear anything at all. Some people use hearing aids and/or know sign language, others perhaps cochlear implants, and many choose not to use any hearing device at all. We also have two ears, which means that deafness can not only range from person to person, but also ear to ear. For example, someone may be completely deaf on one side, but can hear fine on the other.
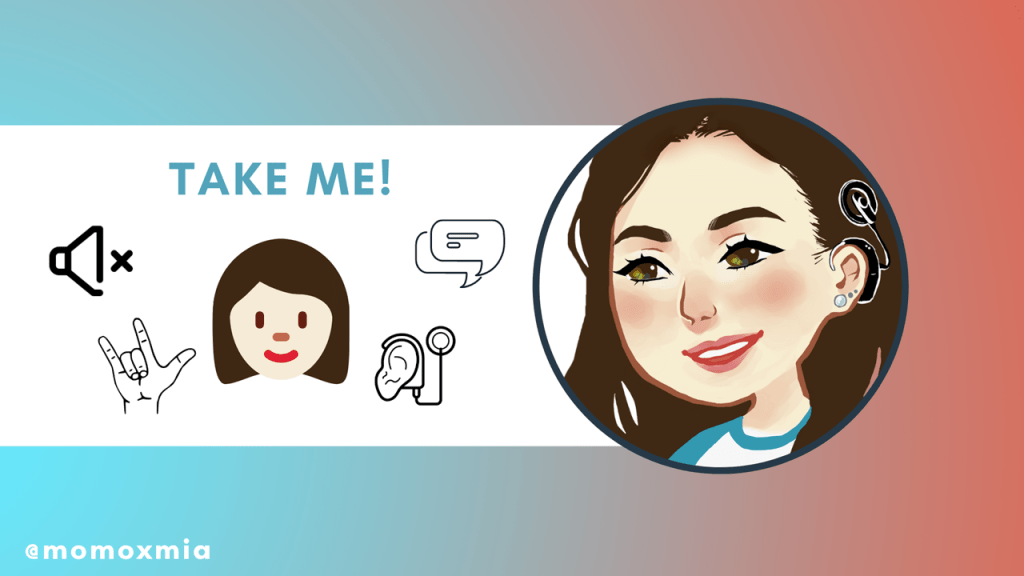
Take me for example! I went deaf in my teenage years and learned sign language, as well as currently have two cochlear implants and use my voice. However, I actually don’t always use my cochlear implants when I play video games, since cochlear implants are very tiring and at the end of the day, I just want to relax and game. I don’t want to worry about hearing fatigue.
But though some deaf people may relate to me, we are all very different. So how can we design our games to be as accessible as possible to deaf and hard of hearing players?
Through the power of customization! Every deaf and hard of hearing person has their own individual abilities that a designer is not always able to predict. Therefore, by adding customization options to our games, we enable deaf players to adjust the interface and gameplay to meet their individual needs.
Let’s consider a common accessibility practice for deaf users. In the entertainment industry, it is always recommended to have subtitles and captions and allow people to customize their subtitles/captions. Subtitles are the bread and butter of deaf accessibility in video games. It can make or break a game for deaf players, especially if the game includes spoken dialogue.
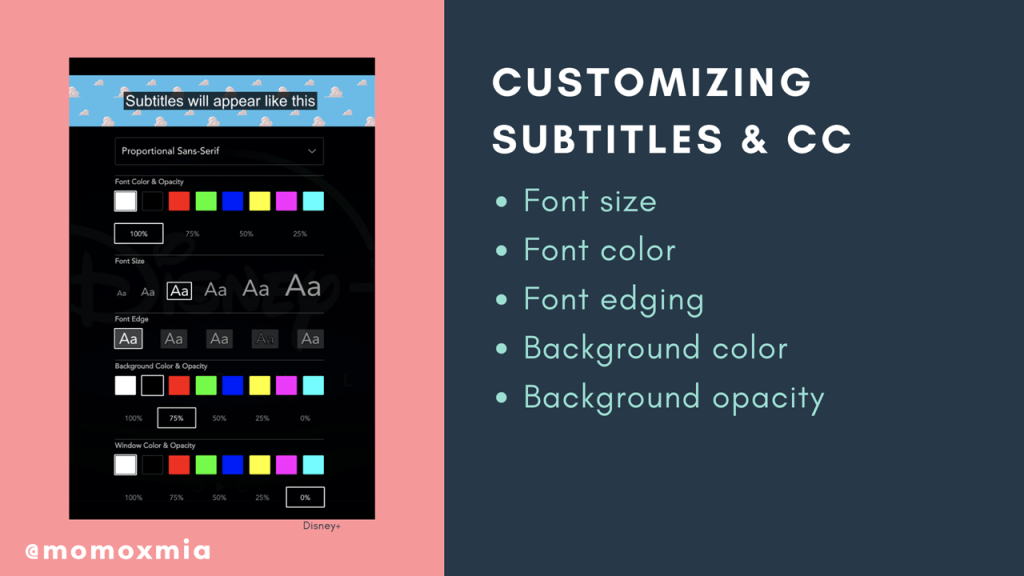
In addition to allowing players to turn on subtitles, we need to also let them customize the font and background. Here, I list 5 bullet points: Font size, color and edging, as well as background color and opacity. On the left is a screenshot from Disney Plus, where all five suggestions are included.
But why do we include all these options? Aren’t subtitles enough? Well, no.
Every individual has their own individual abilities that a designer is not always able to predict. With an estimated 5-10% of people with a reading-related disability, you can bet there are deaf people that would benefit from font customization, especially as deaf folks heavily rely on subtitles. For example, some deaf people with dyslexia need an opaque background or font edging. Others may need a different text color, as varying colors can ease eye fatigue for both dyslexic and non-dyslexic individuals.
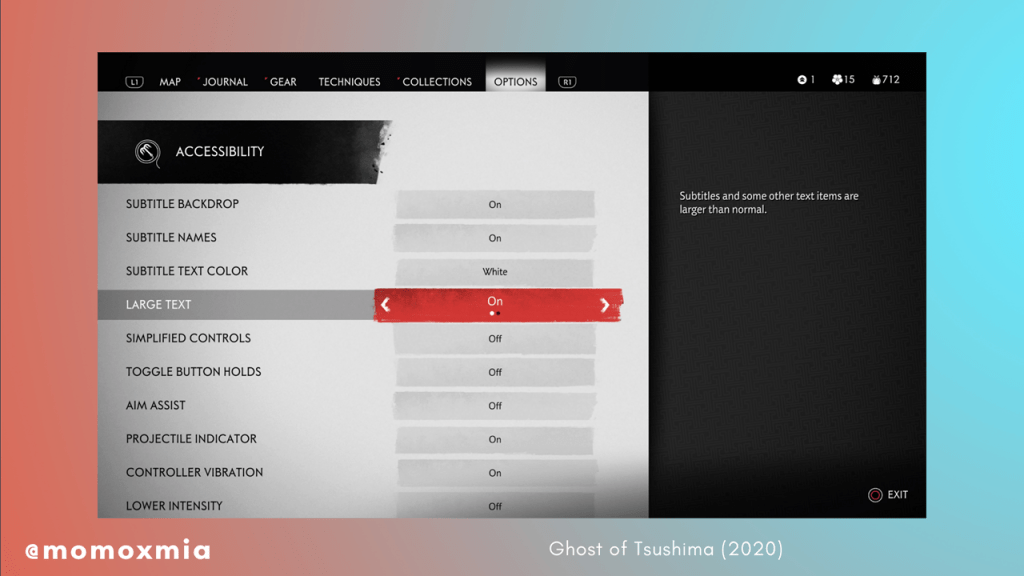
Let’s look at one specific example from Ghost of Tsushima. Here, players can adjust subtitle backdrop, subtitle names, and subtitle text color, as well as turn on the large text option.

The next slide, we can see an array of the subtitle customization options in use. The first line, we have the speaker labelled and the text is larger. For the second, the large text option is disabled. For the third, we have the subtitle text color changed to blue and for the forth, the text color is changed to yellow.
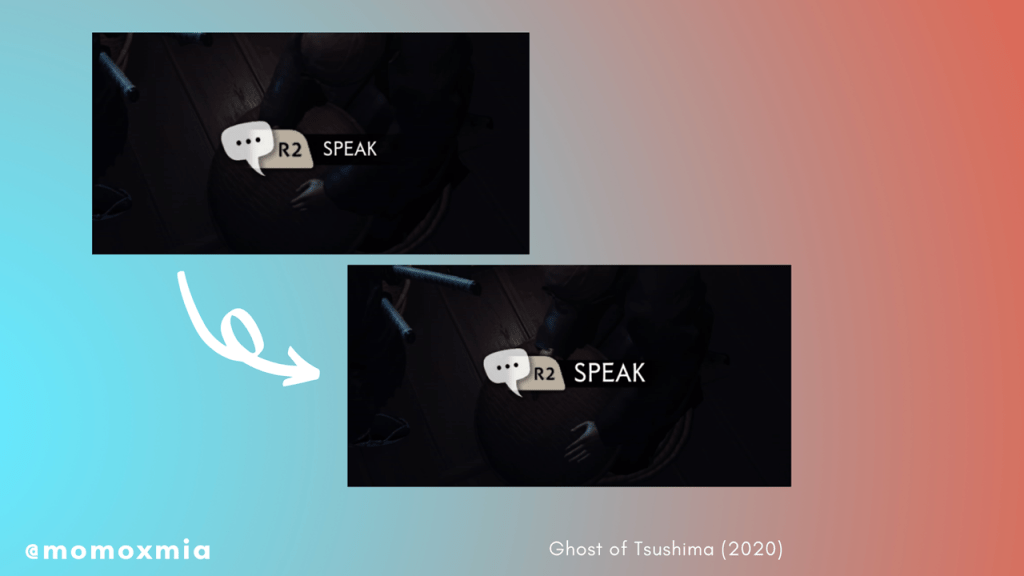
For the large text option, not only does it affect the size of the subtitles, but it also increases the size of all the text in the HUD and interface. On the left, users are prompted to hit R2 to SPEAK, however, when the large text option is enabled, the word SPEAK is also bigger. It’s subtle, as I enlarged it for visibility, but on our television screens, we no longer have to strain our eyes to the text in HUD.
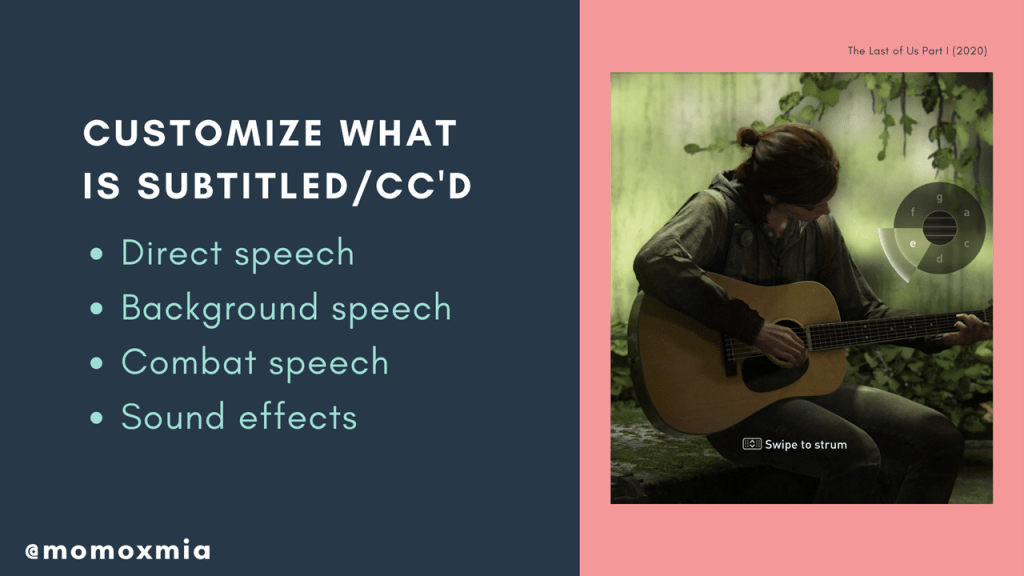
In addition to customizing the font and background, we need to include the option to customize what is being subtitled or closed captioned. Common categories include direct speech, which is the immediate speech the users should be paying attention to, background speech, which might be the speech an npc is saying nearby, combat speech, which may include the speech an enemy is speaking, and sound effects, which may include text for an explosion or glass shattering.

Let’s take the Last of Us Part 2. Here, players are able to toggle between two subtitle options:
- Story dialogue: Enables subtitles for main characters, important enemy dialogue, and cinematics.
- Combat dialogue: Enable subtitles for additional enemy dialogue while in stealth or combat
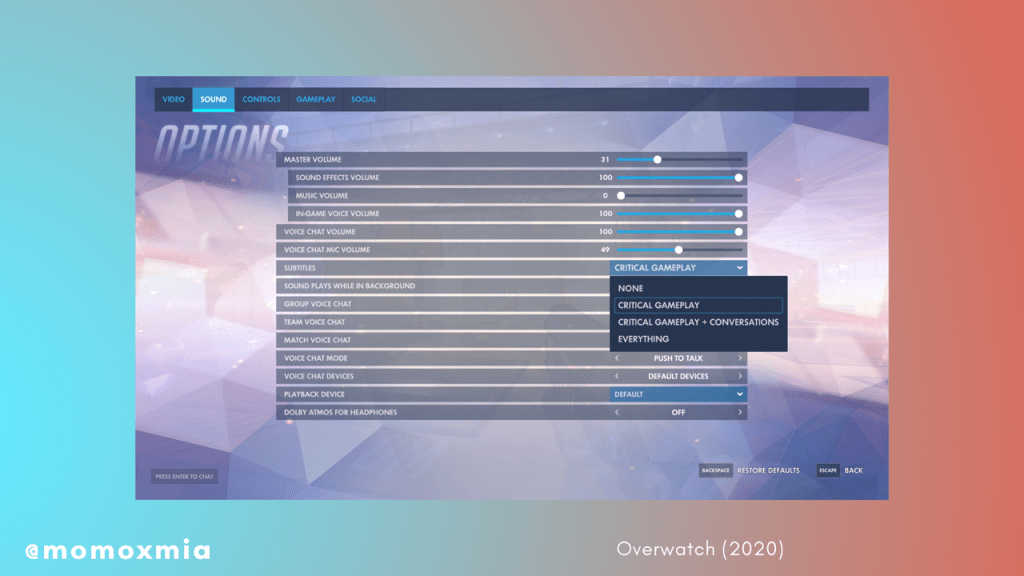
We see similar subtitle options for Overwatch. Here, users can toggle between:
- No subtitles
- Critical Gameplay, such as ultimate voicelines or announcer dialogue
- Critical Gameplay + Conversations, so maybe cute things a character may say that isn’t relevant to combat
- Everything
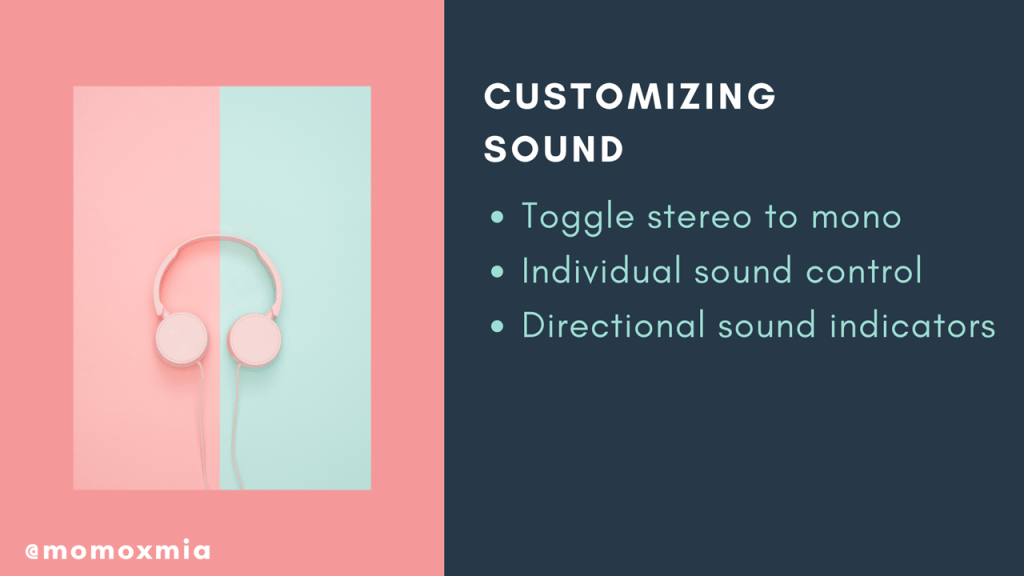
Keeping in mind that deafness is a spectrum, we also need to consider the customization options for sound. That way, for those who are hard of hearing, they have the option to control sound output and cues. Here, I list four critical options to consider:
- Toggle stereo to mono
- Individual sound control
- Sound cue imagery
- Sound directional indicators
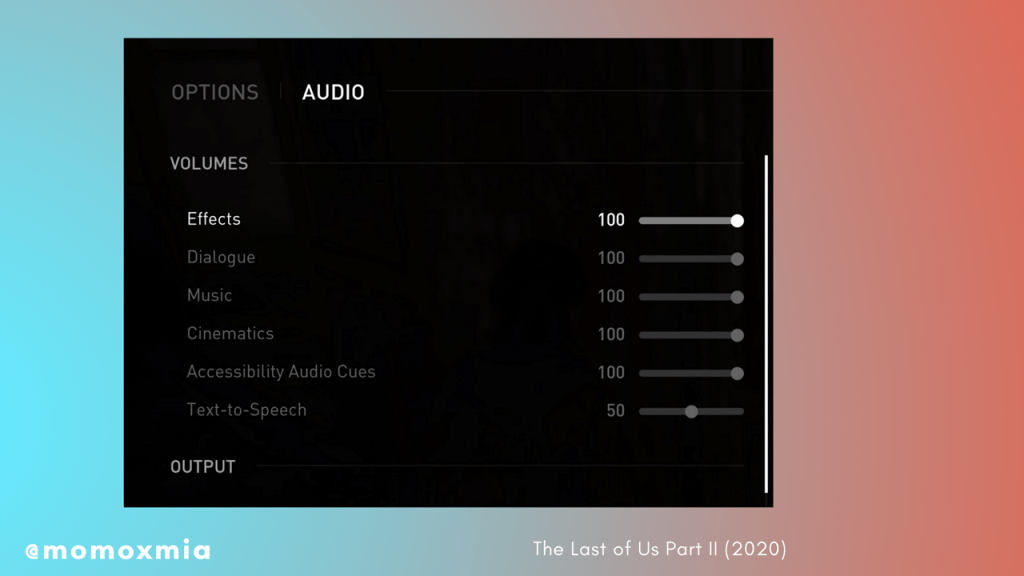
For example, in The Last of Us Part II, there is an option to customize the volume for six different audio features, including effects, dialogue, music, cinematics, accessibility audio cues, and text-to-speech.
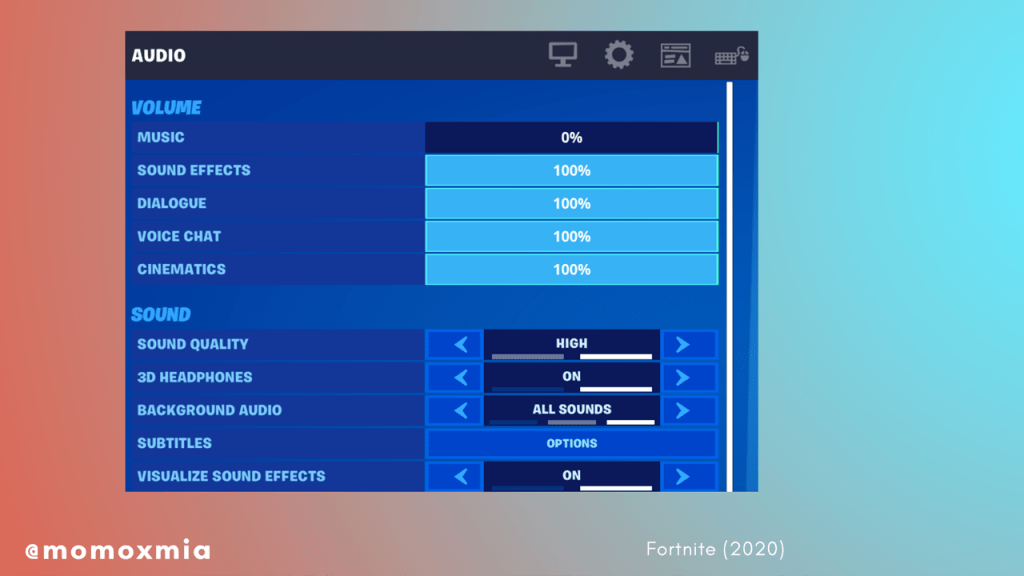
Another example is Fortnite, which includes the option to swap surround sound (labelled 3D headphones) to mono output. This is helpful for players who may have one-sided hearing, as they may only be able to hear from one ear.
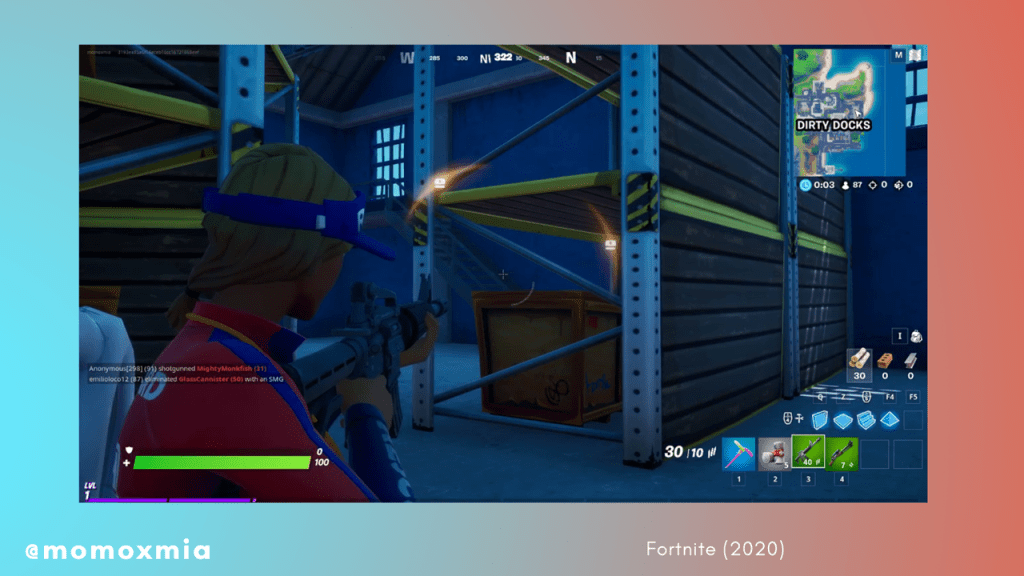
Fortnite also includes it’s most famous deaf accessibility option, the ability to visualize sound effects. Within the visualization, there are visual cues such as treasure chests, gliders, gunshots, and footsteps. Additionally, colors within the visualization helps distinguish which sounds are neutral vs. dangerous. Opacity is also used to indicate distance of the sound.
For this first image, a treasure chest sound cue is directionally visualized around the player’s crosshair. The chest is assigned the color yellow. Here, there is one chest to the upper left, and one chest to the lower right.
Now that we talked about a number of ways we can customize our games for deaf players, what do we do when we have too many options? As designers, though we want our gamers to have as much equal access as possible, we also do not want to overwhelm our players.
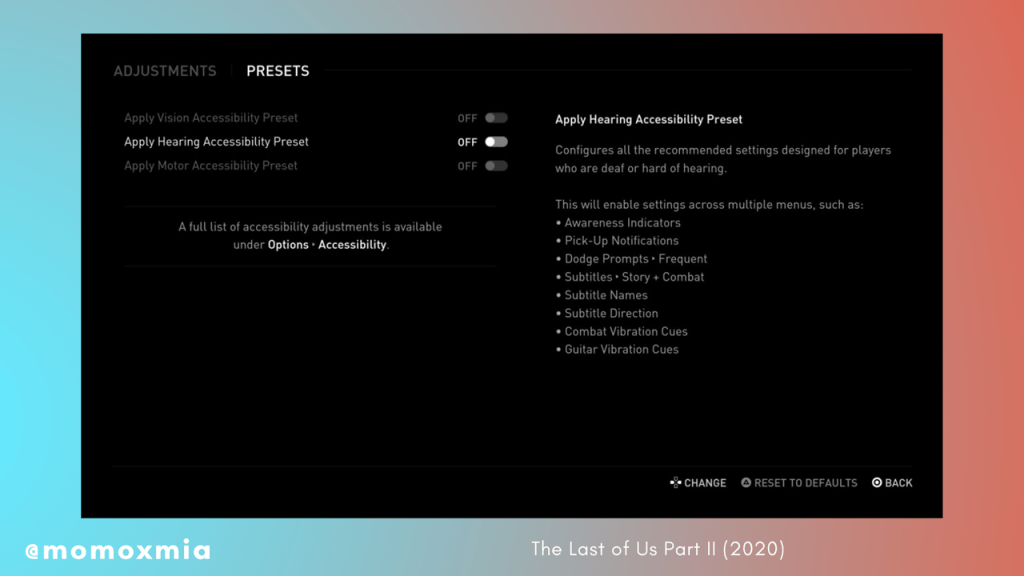
One suggestion is to create presets. Sometimes, it is difficult for users to initially predict their needs for the game. For instance, settings drastically differ between combat-oriented games and story-based RPGs. Therefore, it is recommended to include the option of turning on a Hearing Accessibility Preset.
Here, we see an example where Naughty Dog’s game prompts users to turn on the Hearing Accessibility Preset before any gameplay begins. The preset configures all the recommended settings designed for those who are deaf or hard of hearing. For example, the preset automatically turns on awareness indicators, pick-up notifications, dodge prompts, subtitles, and certain vibration cues. During onboarding and for the rest of the game, players have the option to go back to the accessibility settings to make small adjustments, as they learn the gameplay and learn their own playstyle.
To determine which options should be included in the preset, it is advised to consult with d/Deaf/Hoh individuals during production. Consultants can gain a general sense of which features are essential and provide suggestions accordingly.
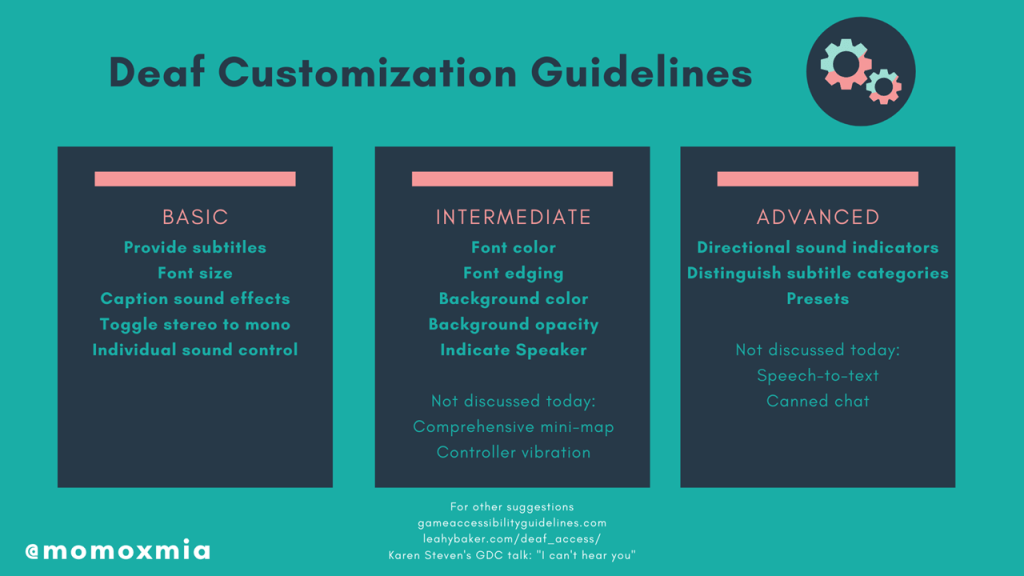
Ultimately, every decision needs to be an informed decision, so make sure to do your research and consult with the deaf community, as needed. On this slide, I have included a list of Deaf Customization Guidelines. As a designer, you should include at least the basics, and strive towards the advanced options. Of course, this is not a set list, but rather a way to help you get started. The list can also be found on leahybaker.com, where I will continue to update it.
Thank you for taking the time to listen to my presentation. If you have any questions or comments, feel free to email me at momoxmia@gmail.com or tweet to @momoxmia.
